|
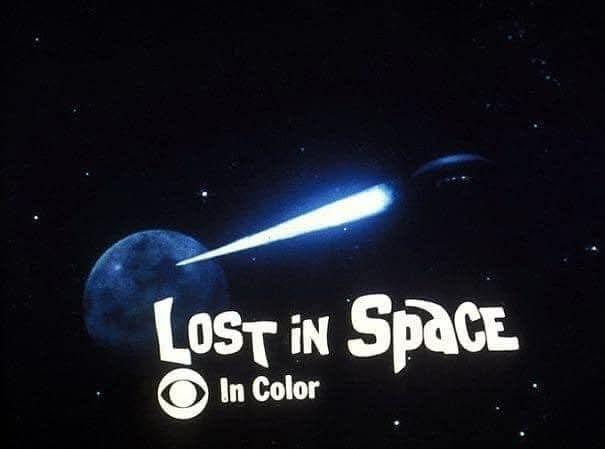
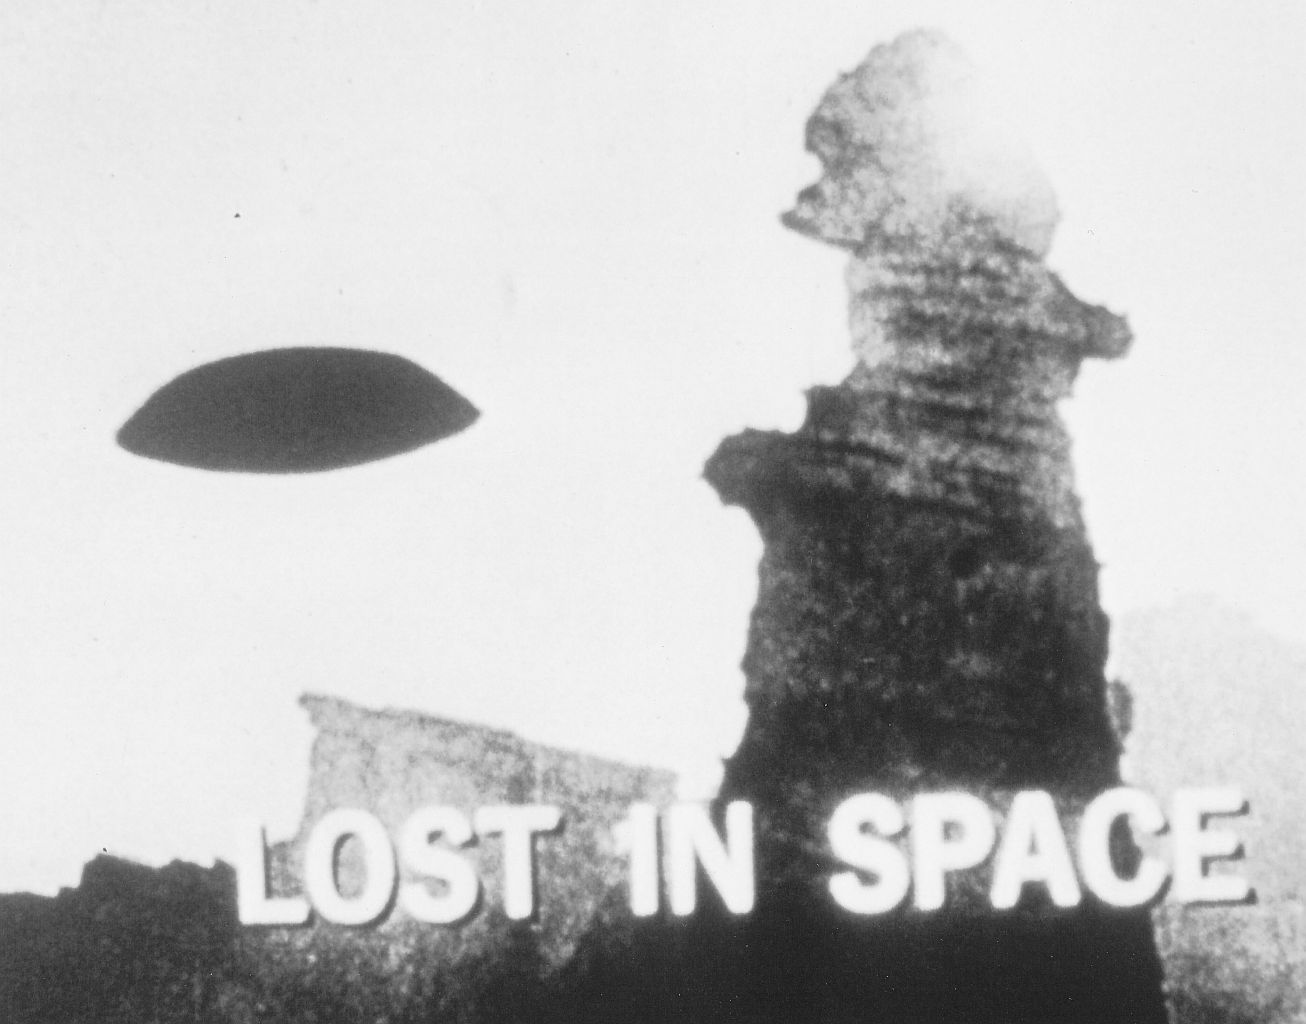
JUPITER-2 PHOTO GALLERY #01 |
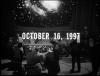
Updated: May 15, 2026


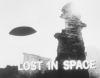


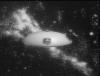


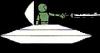

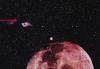


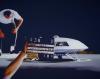


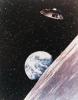


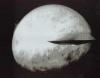


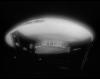
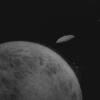


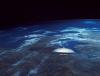
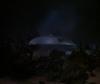

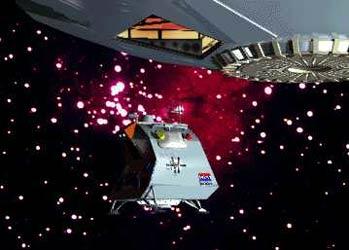
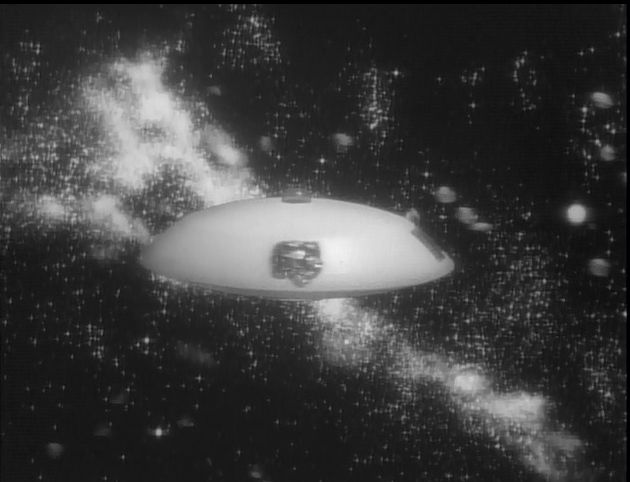
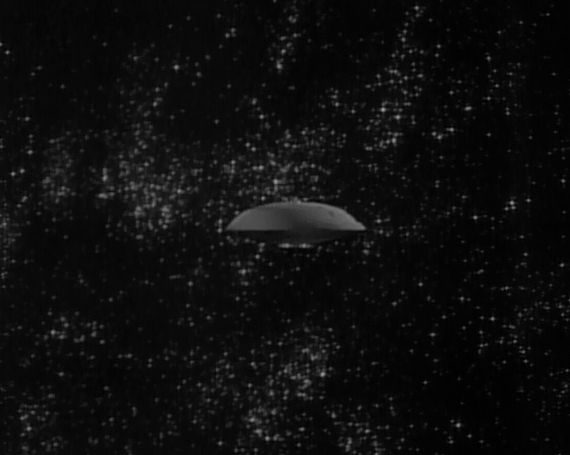
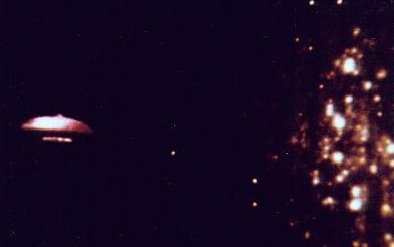
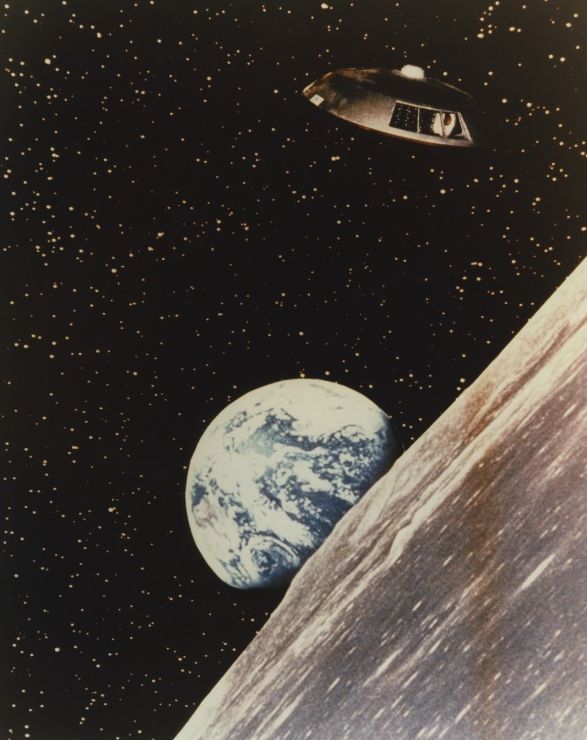
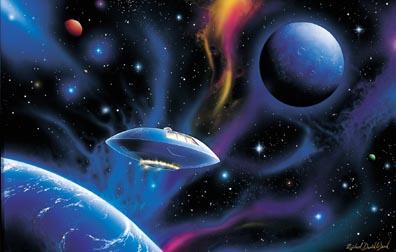
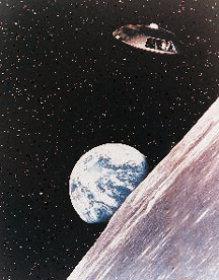
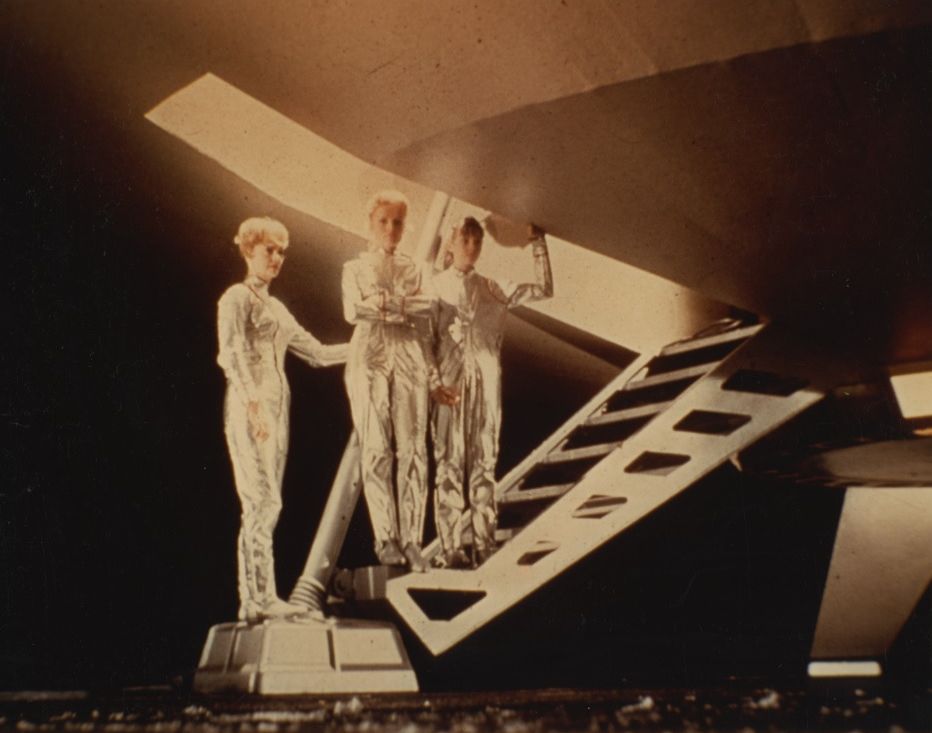
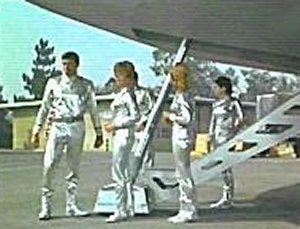
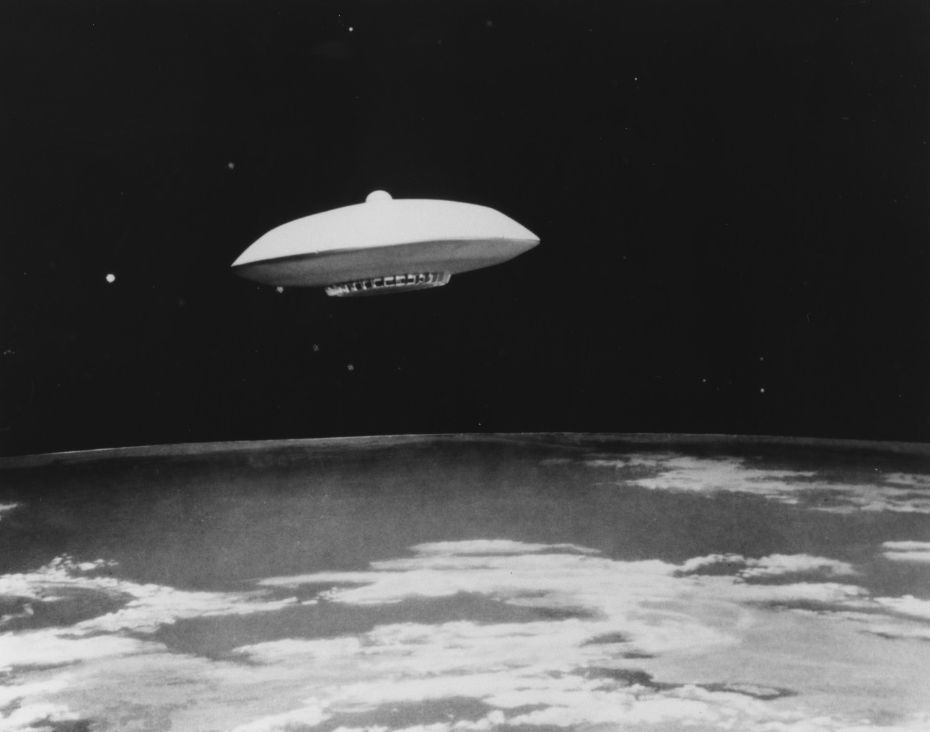
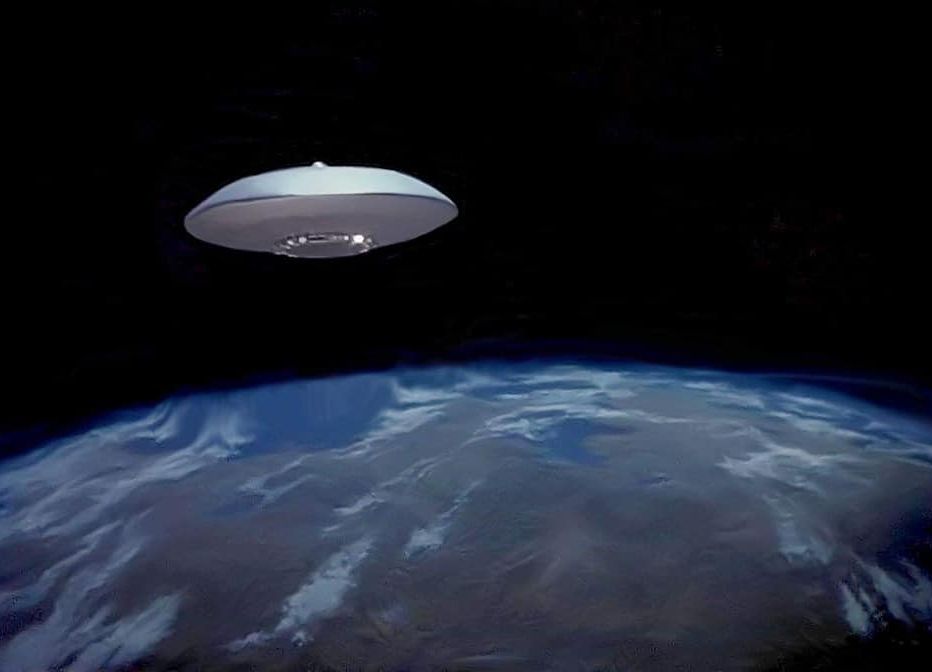
There is to be a first family trip to Alpha Centauri from an overcrowded Earth. It will last 98 years, and the family chosen
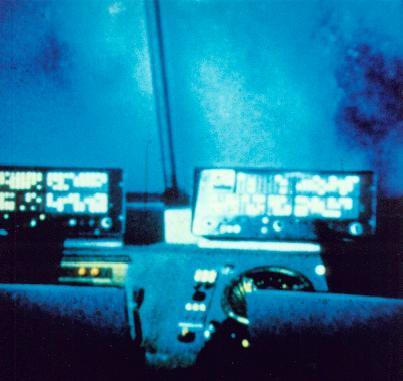
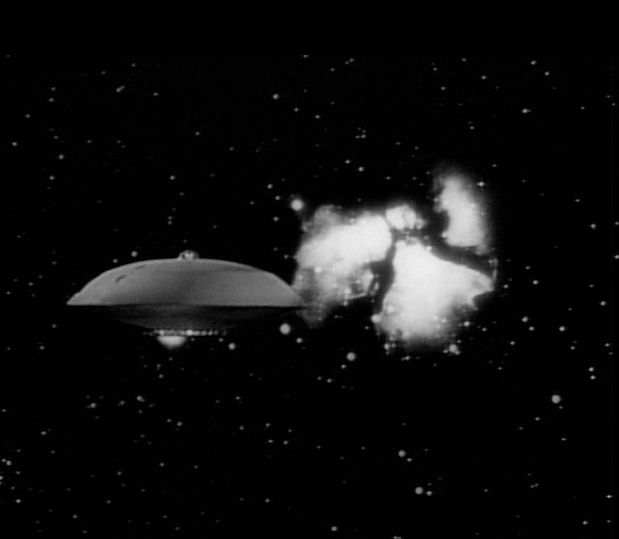
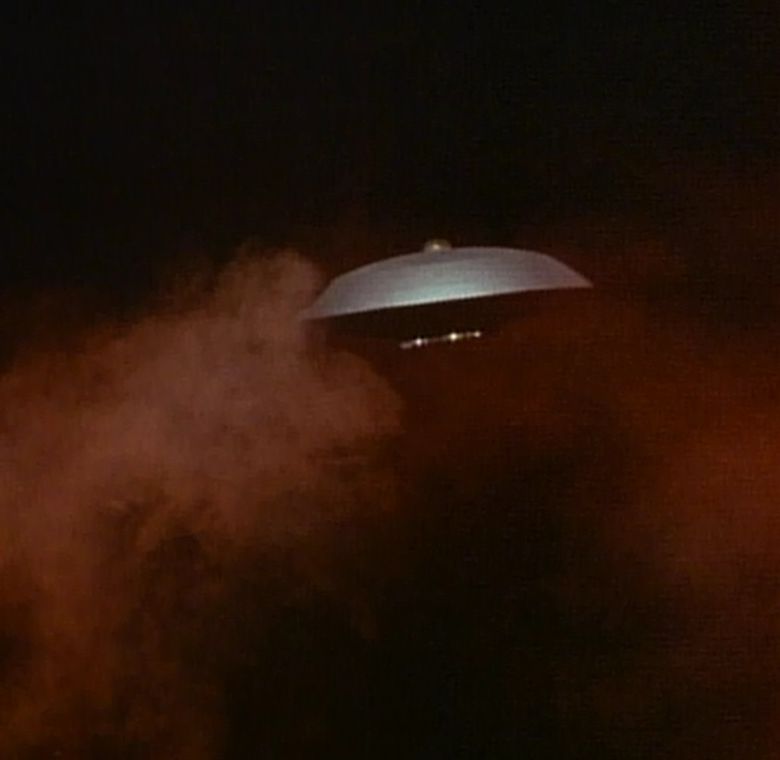
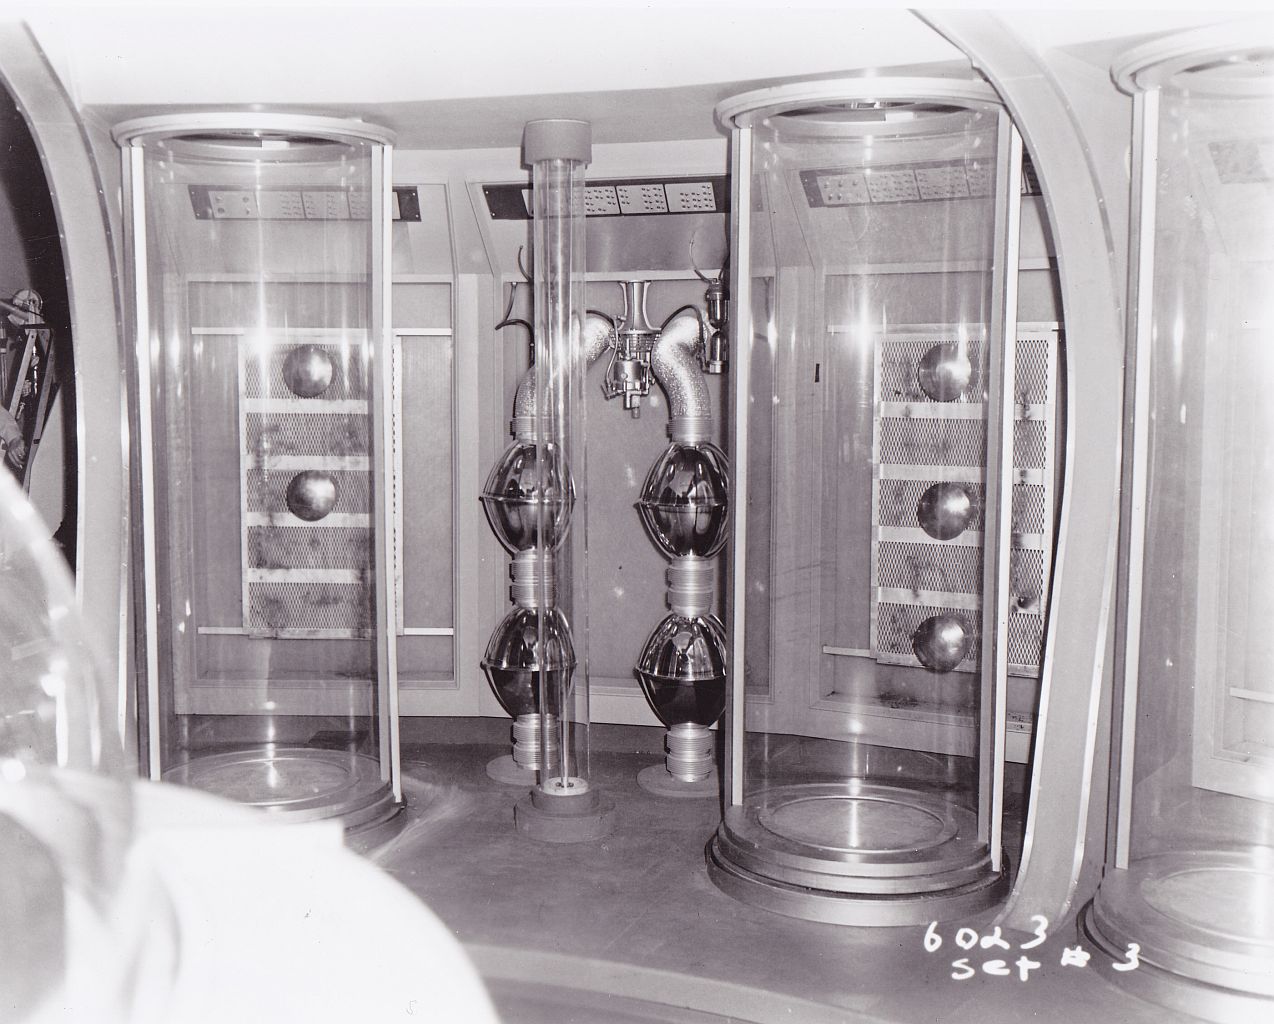
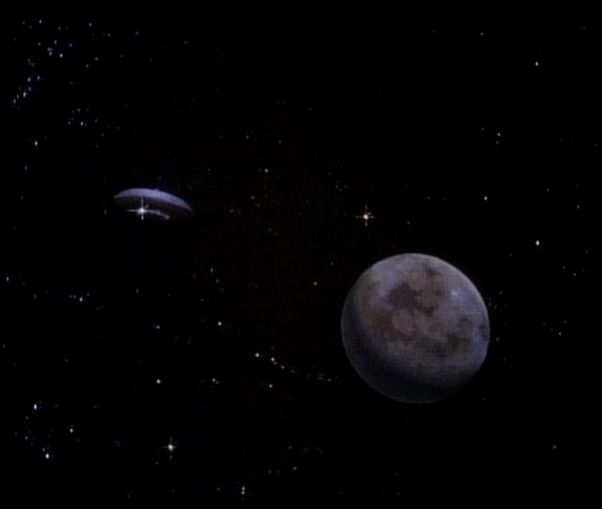
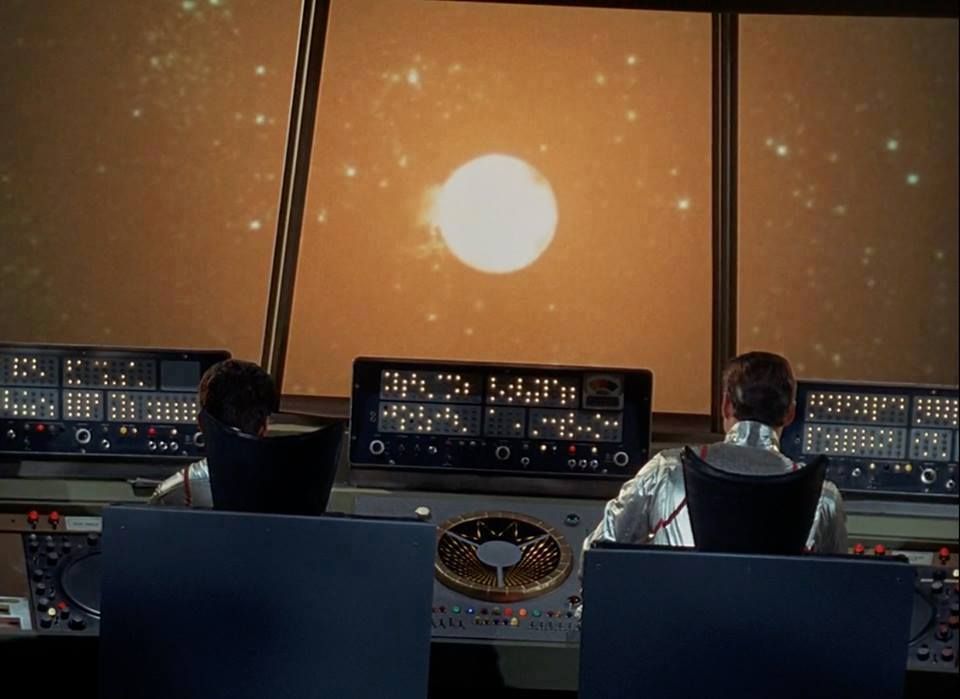
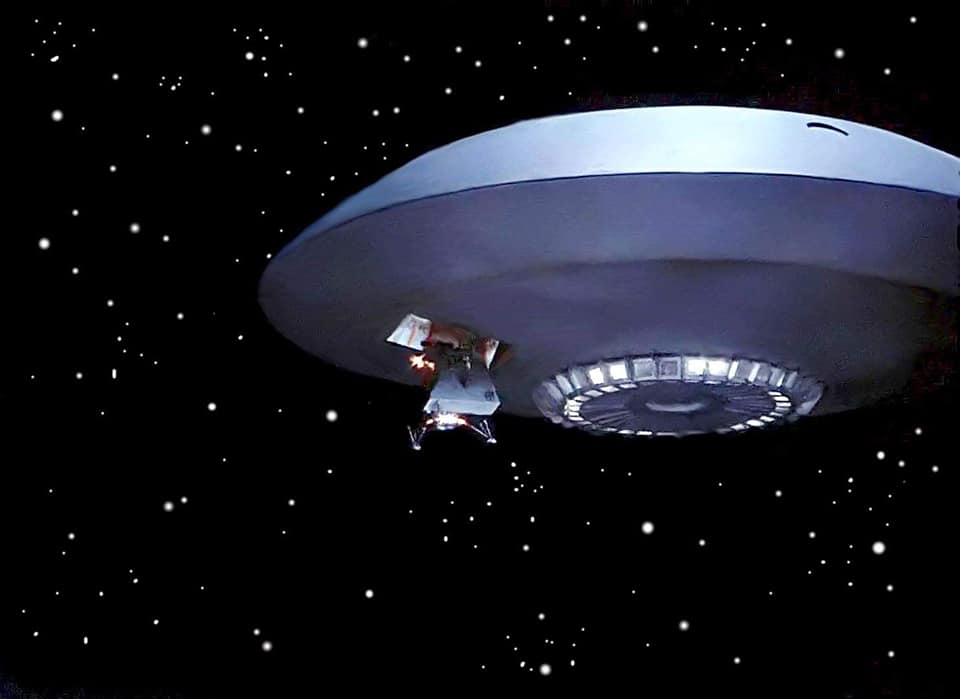
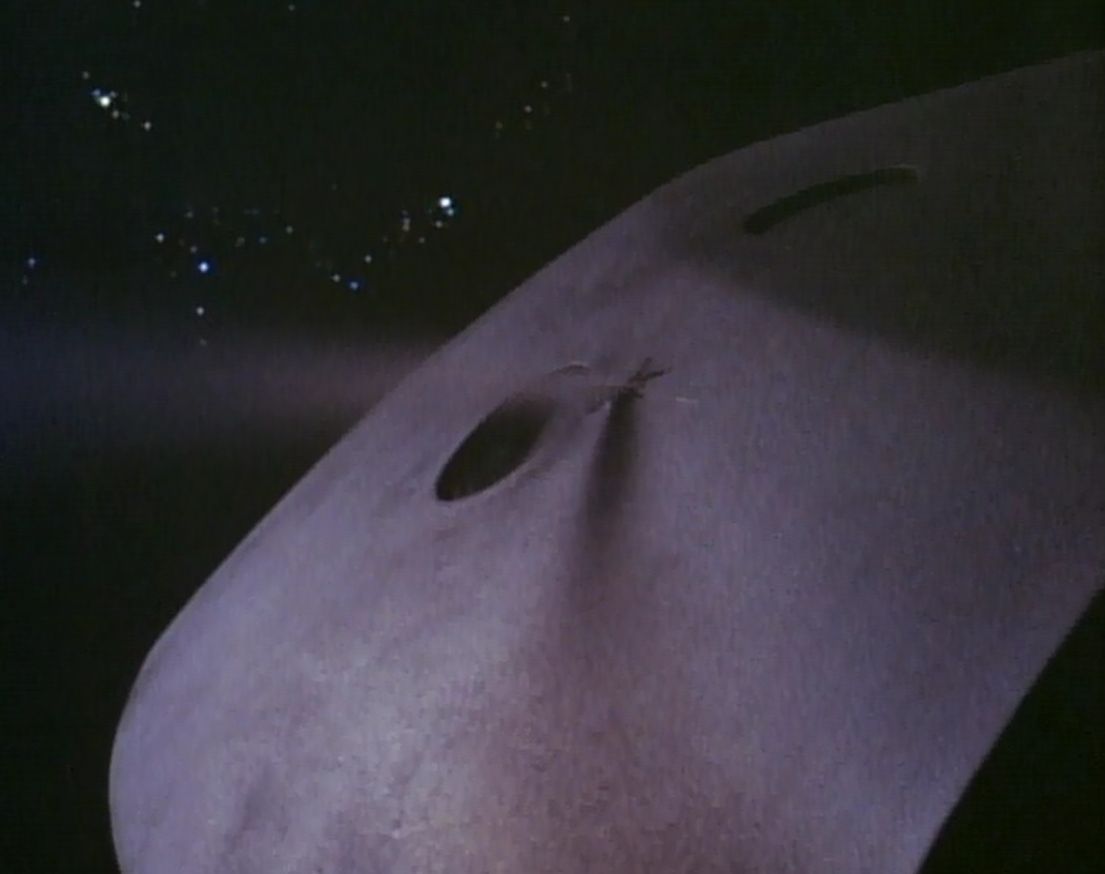
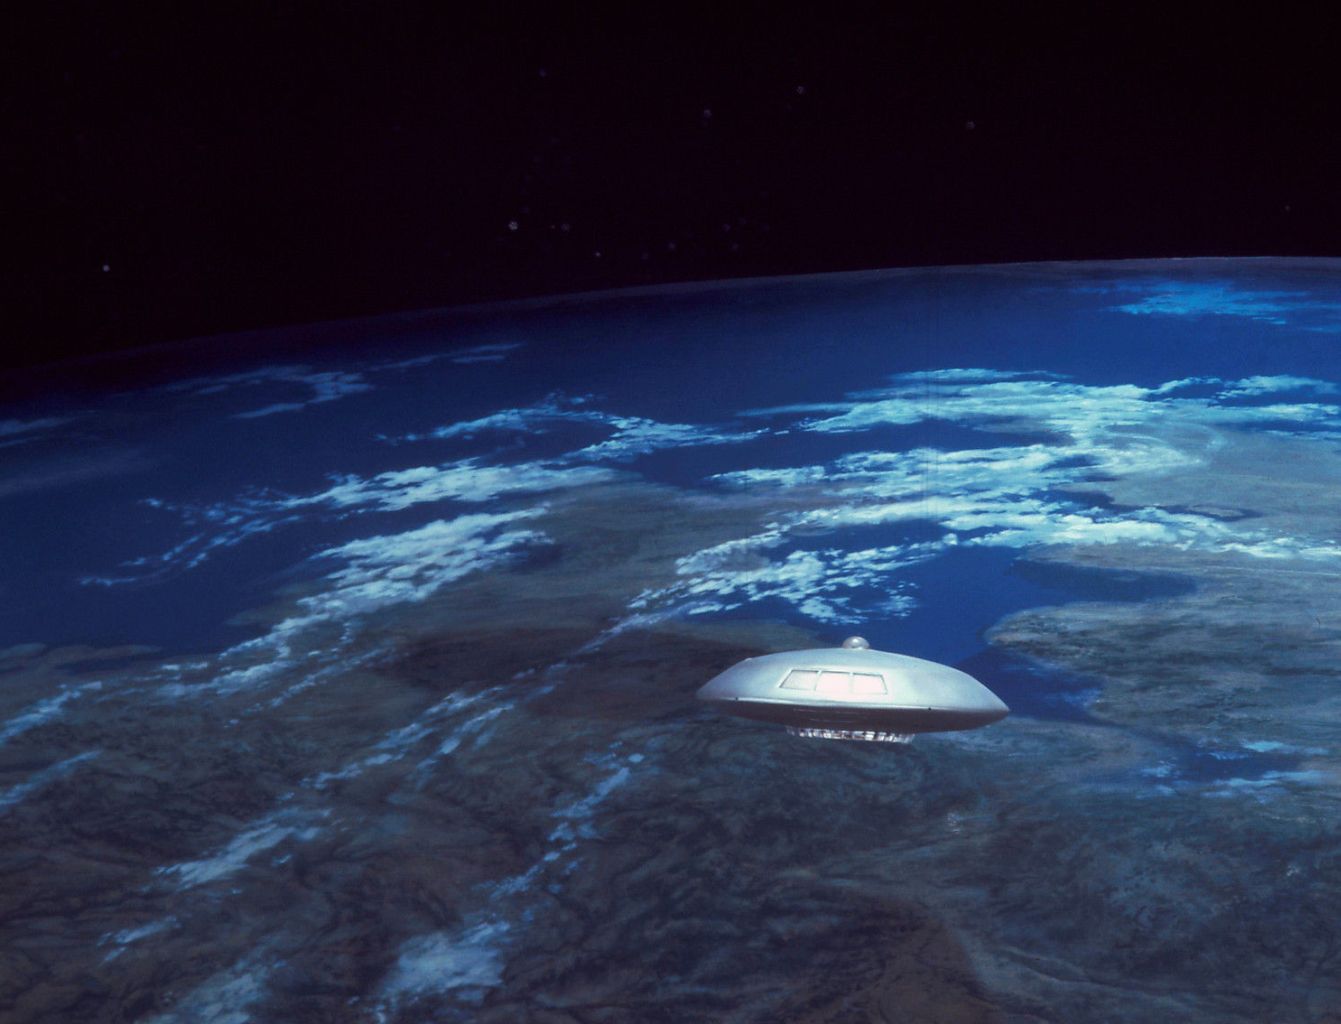
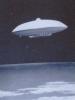
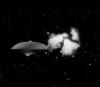
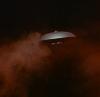
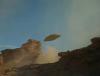
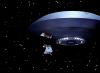
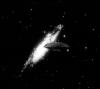
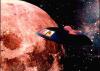
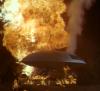
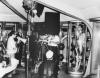
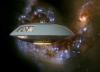
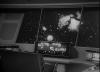
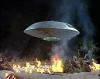
the Robinsons will spend it in suspended animation. They are frozen in tubes that will automatically open when they arrive in the atmosphere of a living planet. Onboard computers will take care of the flight itself. The spaceship, "Jupiter-2" lifts off, and heads into space. An indeterminate time later, it runs off into a meteor storm. The "Jupiter-2" is battered and damaged, & knocked off course. Automatic systems change the course to avoid the meteors, but all of the repairs cannot be made.
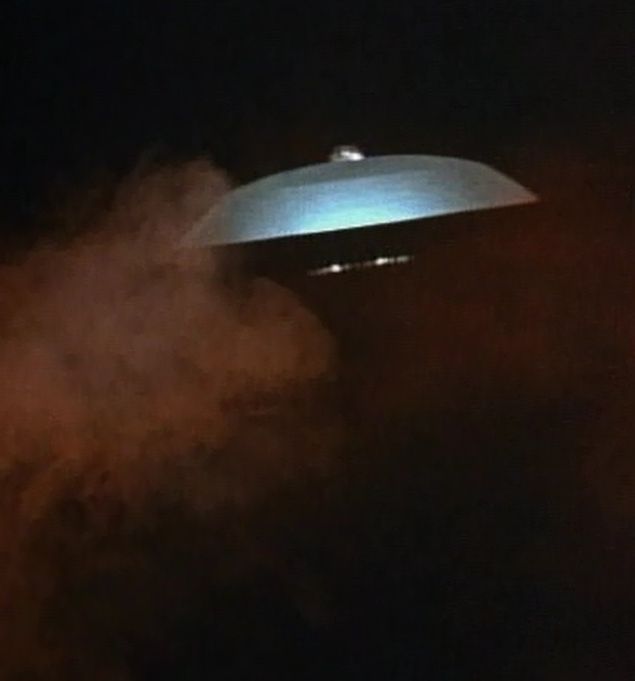
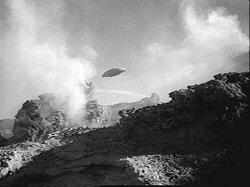
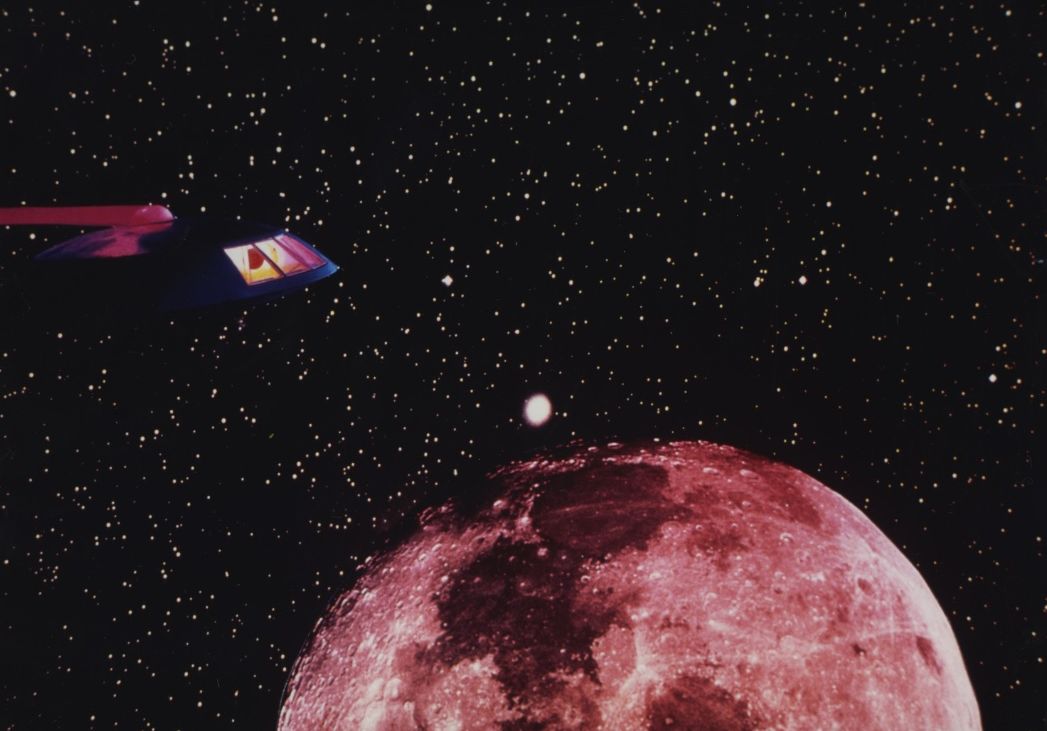
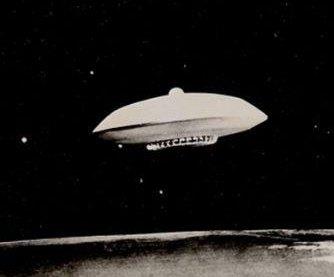
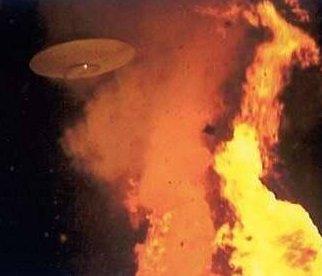
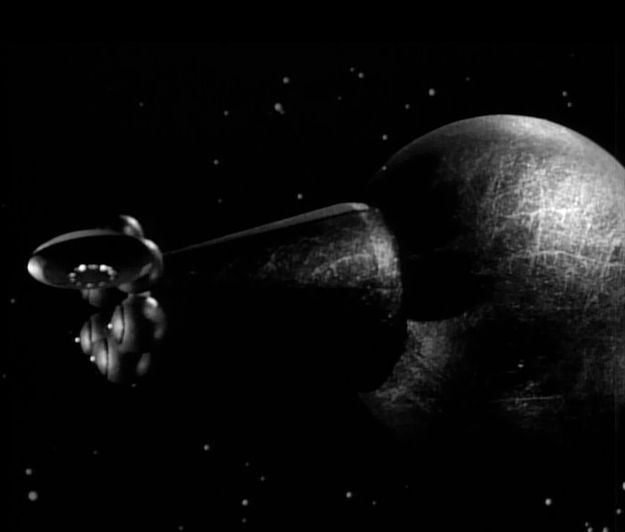
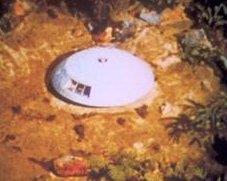
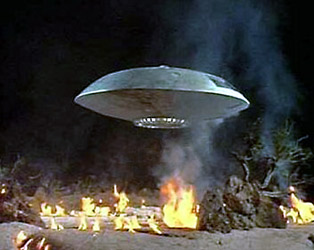
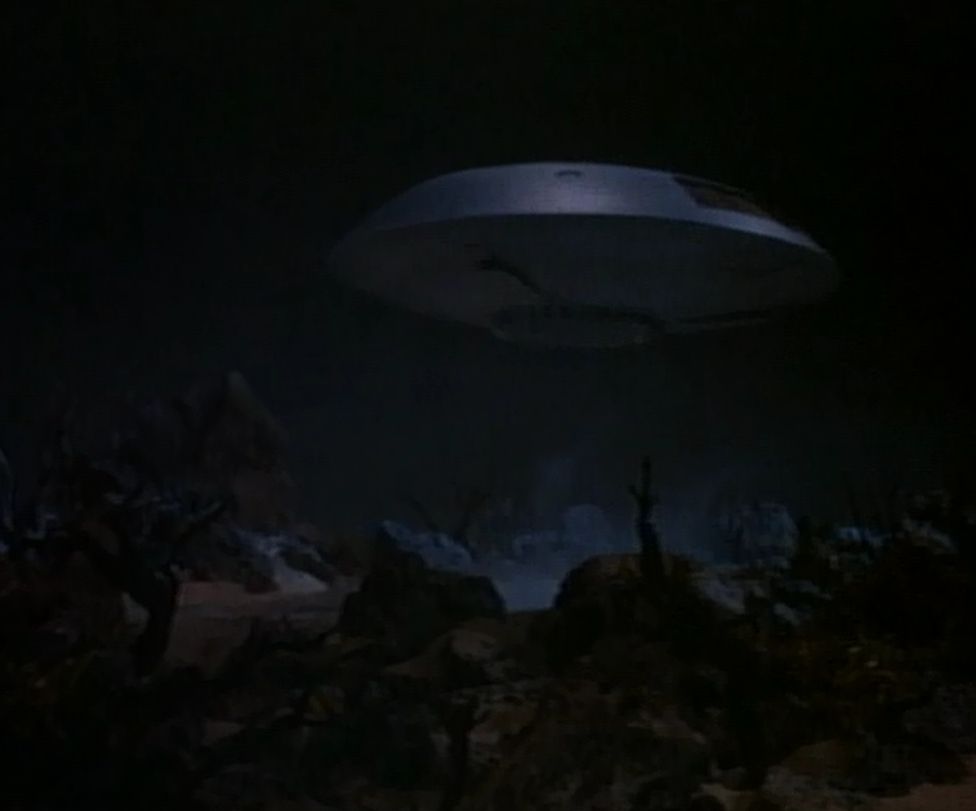
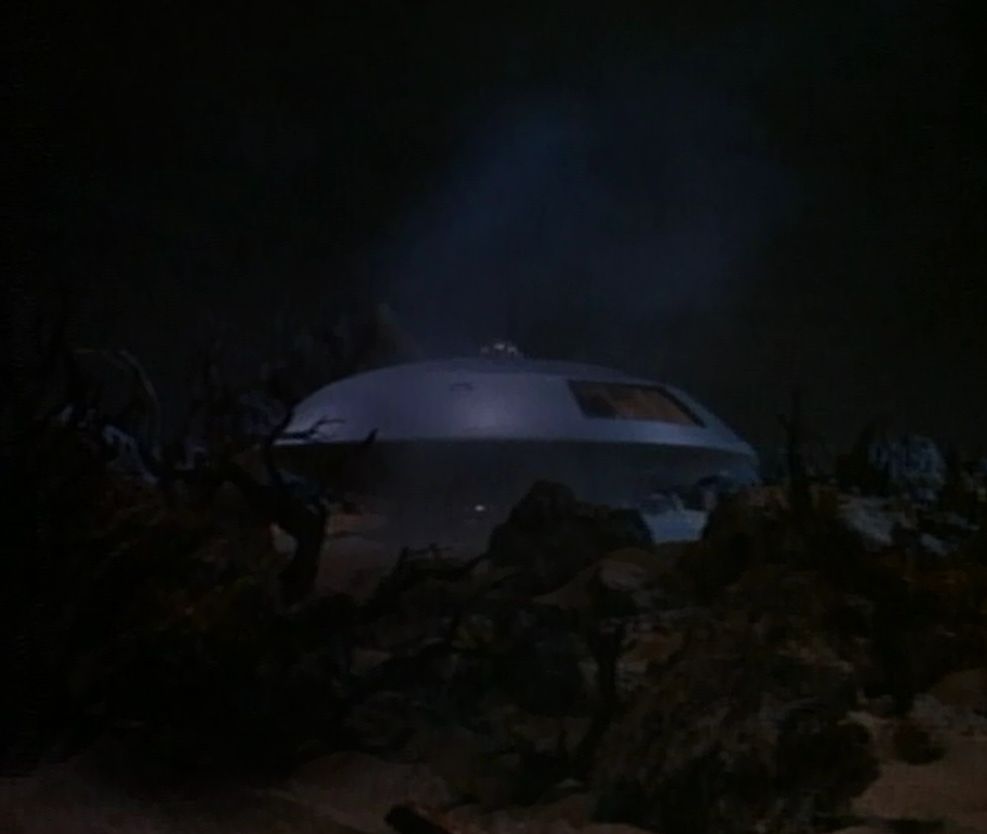
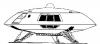
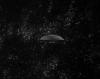
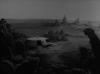
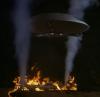
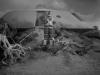
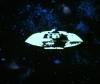
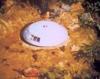
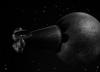
The "Jupiter-2" computers selects the nearest planet to crash-land on.
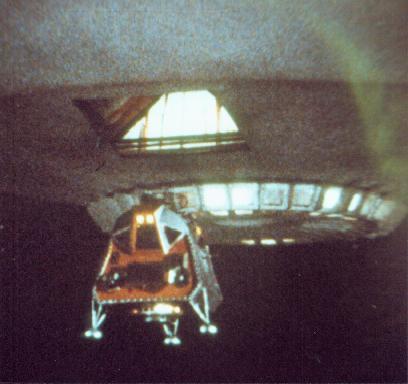
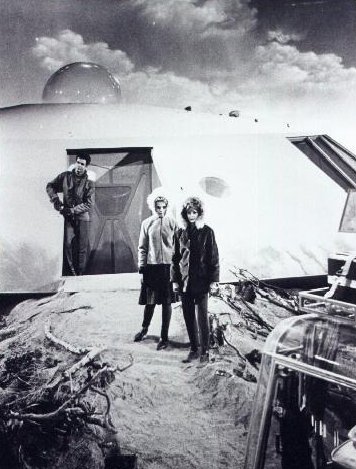
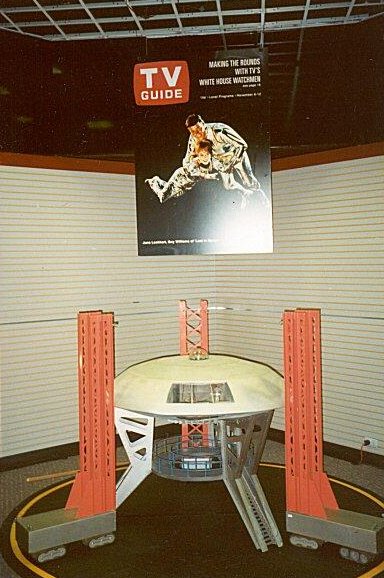
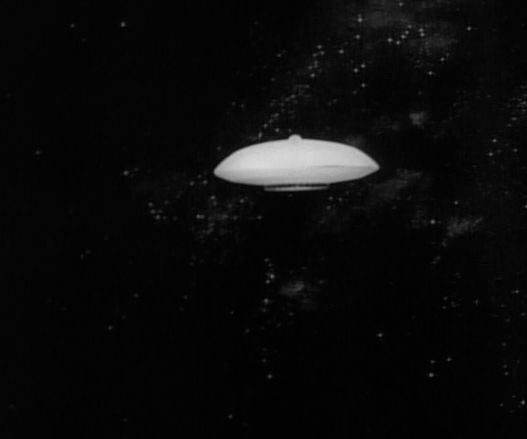
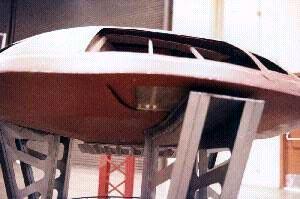
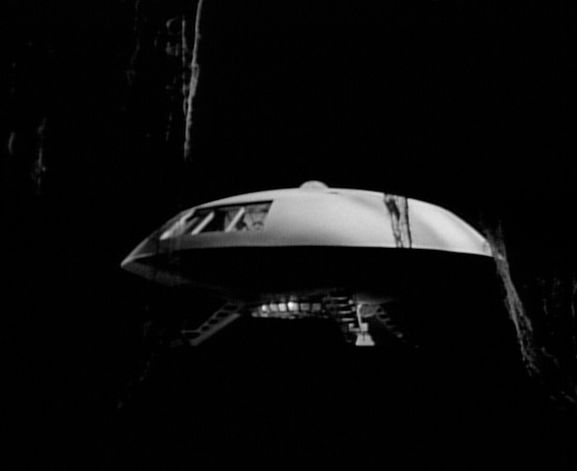
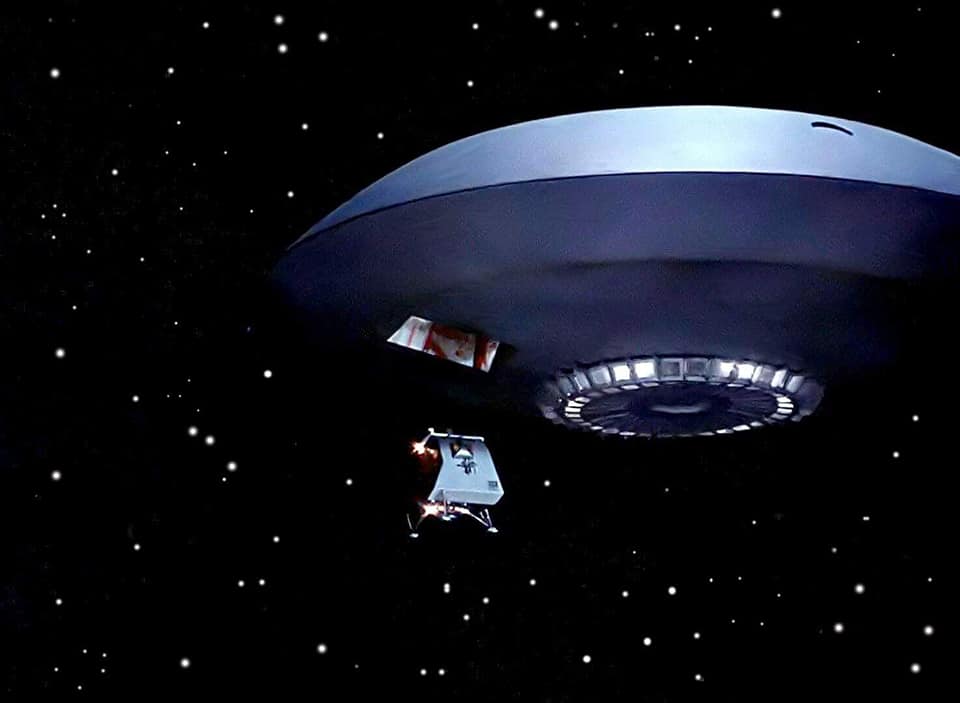
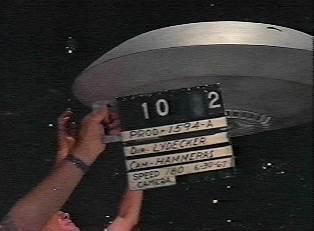
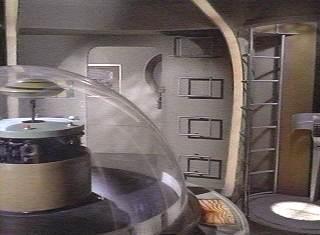
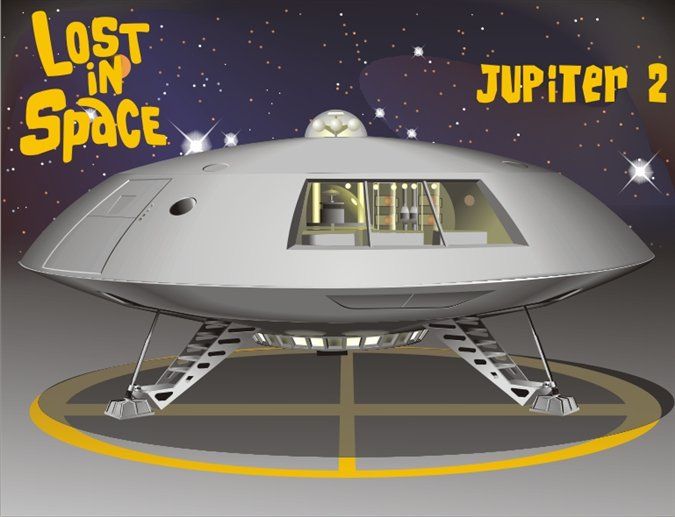
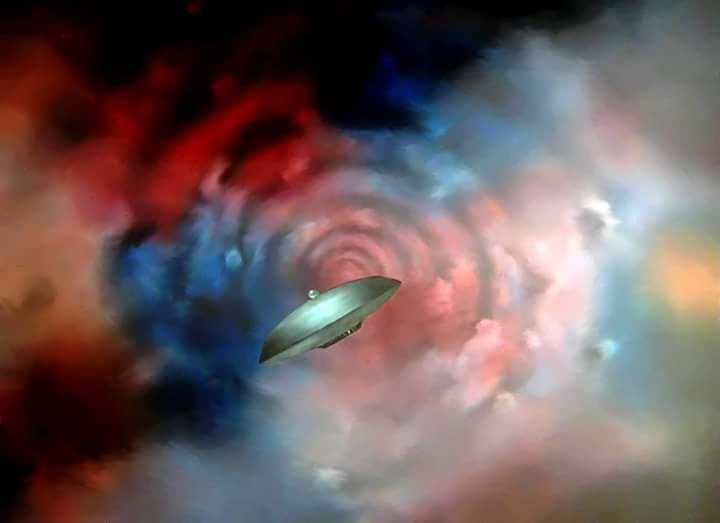
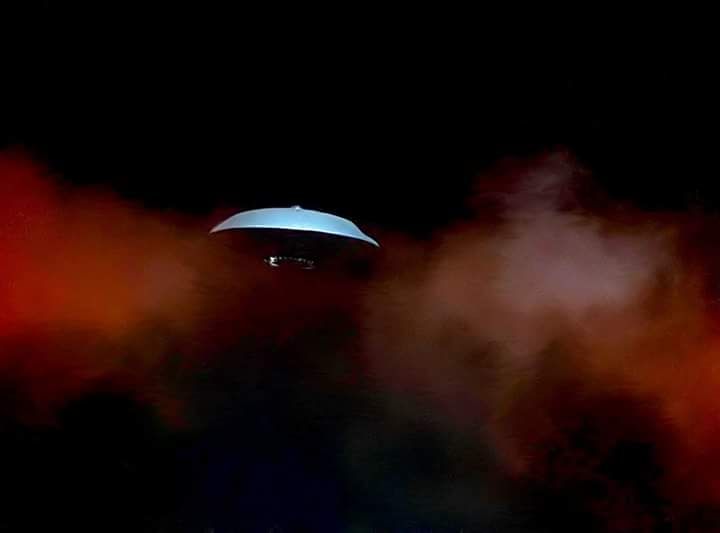
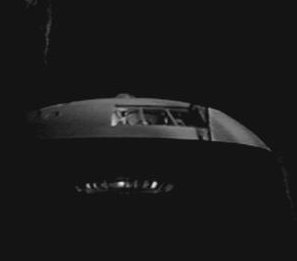
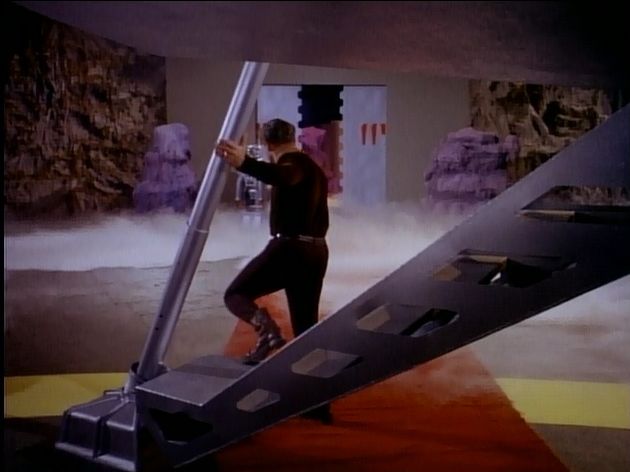
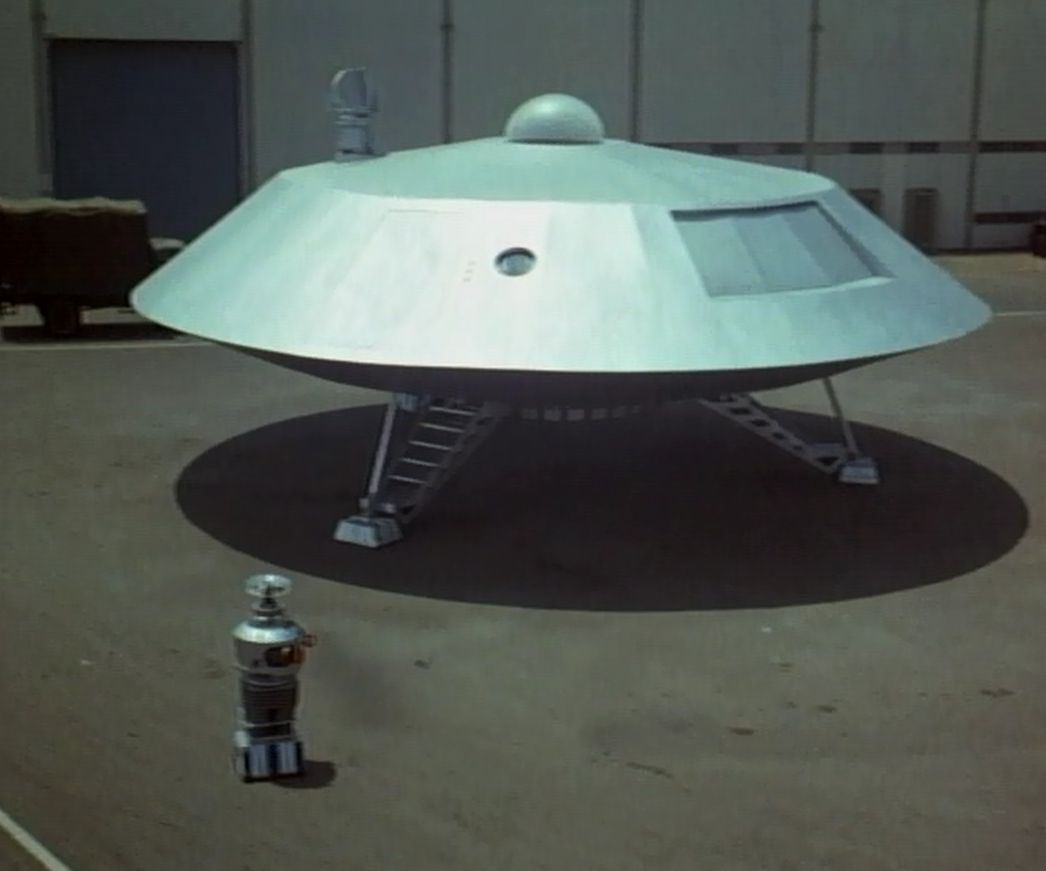
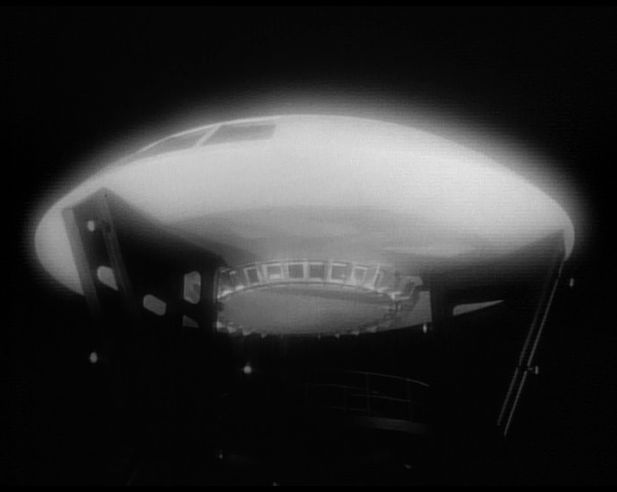
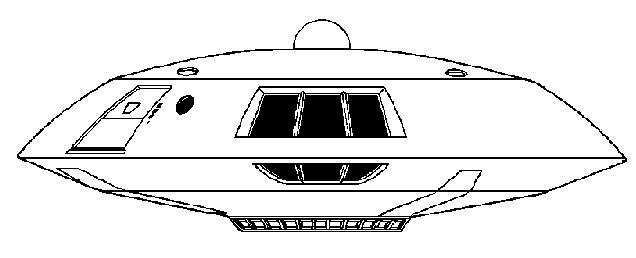
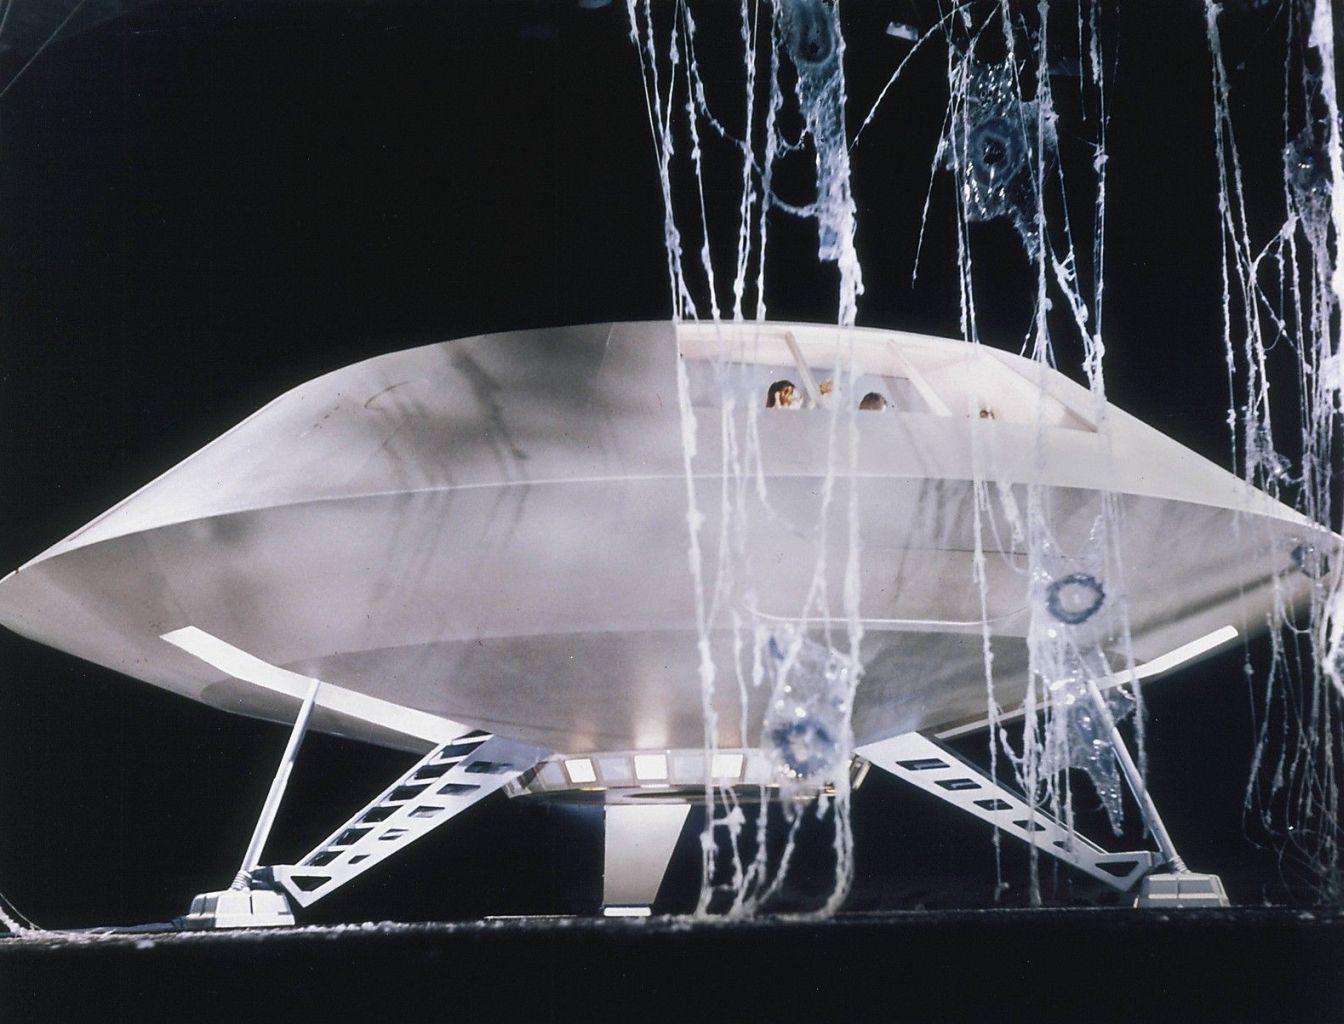
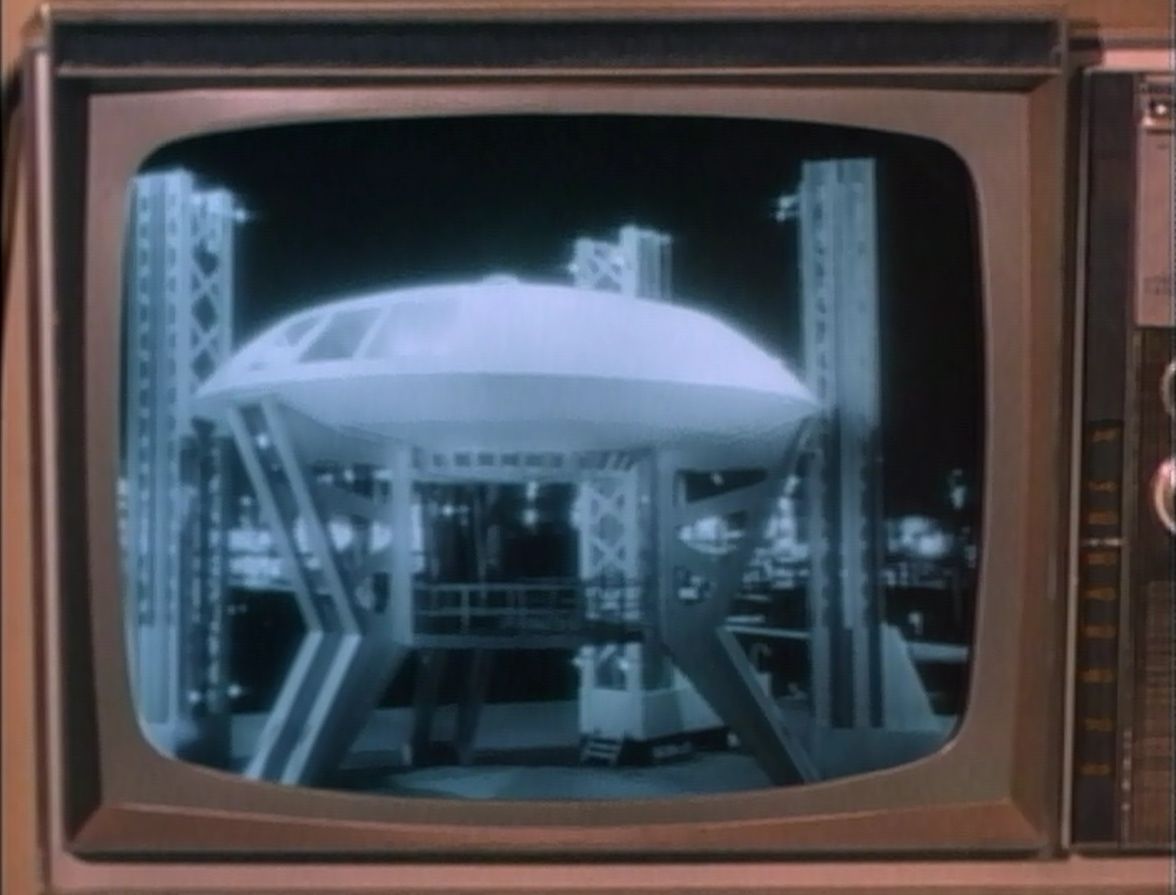
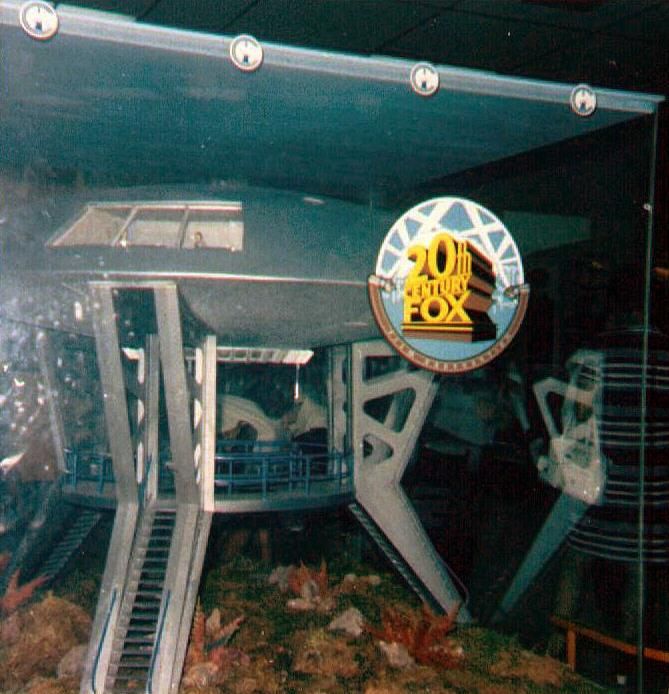
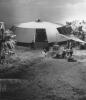
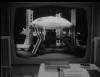
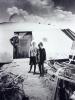
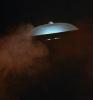
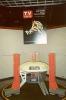
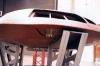
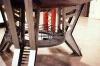
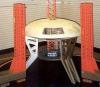
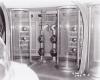
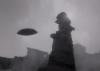
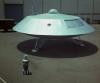
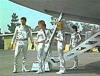
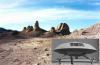
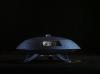
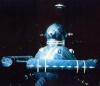
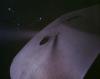
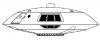
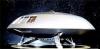
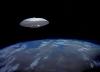
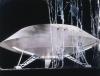
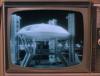
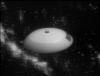
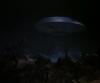
Producer Irwin Allen wanted a design that would last forever. The concept design of a flying saucer was perfect, and holds well even today. The life size mock-up Jupiter-2 costed over $30,000.00 back in the 1960's and was only used several times in 3 years of the TV series. After building the life size mock-up Jupiter-2, it was so large, they could not get it through the double studio doors. According to Mark Goddard, the prop builders had to dismantle the set before using it for outdoor filming! All of the special effects shots were done by L.B. Abbott. Mr. Allen's sets were some of the very best ever made for TV entertainment.
If you love the Jupiter-2 as much as I do, please visit www.Jup2.com. This is the most complete website dedicated to the famous Jupiter-2 prop on Lost in Space!
|
 HOME
HOME
 About
About
 EMail Me
 TOP |
TOP |  PREVIOUS ITEM | NEXT ITEM
  ( 38 of 63 )